Brightspace Accessibility
-1200x800.jpg)
Where to Begin
Once you log in to Brightspace, you can click your name at the top right of the interface, then choose Account Settings to see several options that may make your user experience more comfortable.
Adjustable Settings
Key settings for accessibility include the ability to resize the font, disable the Mark as Read feature, detect and optimize videos, choose your preferred locale and language.
NOTE: Third-party tools that are integrated with Brightspace might not be accessible to the same degree. Please consult with your Instructional Technologist or with DSS to learn about best uses for integrated tools.
User Interface
The Brightspace text editor includes various tools that help you affect the accessibility of your content.
- Clicking the Accessibility Checker prompts the system to run a dynamic review of the given content for any accessibility matters.
- The Text Formatting tool helps you give text elements appropriate order and structure.
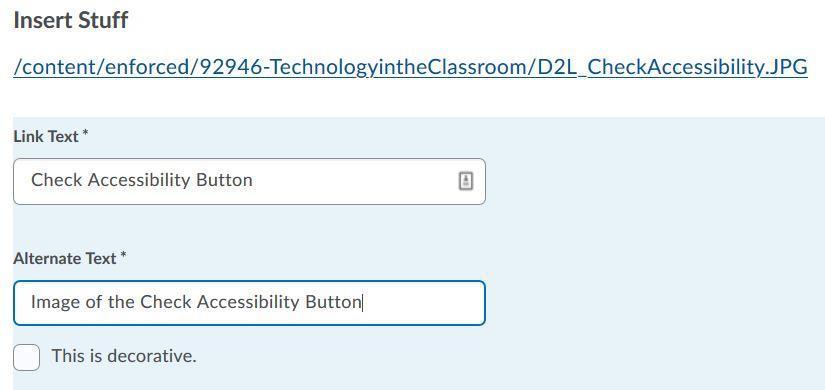
- The Insert Stuff tool lets you include a variety of content elements, including details that assistive devices require.

As an example, the Insert Stuff icon gives you the ability to insert (or edit) Alternate Text for a given image. Any time you upload an image, you must include "alt text" for it to pass the accessibility check. Having "alternative text" allows screen readers to explain to the person what the image is representing. When you hover your cursor over an image, the alt-tagged text should show up. If you choose the "This is decorative" button, a screen reader will know to ignore the image.
Using Brightspace Accessibility Templates
Brightspace's templates will walk you through what you need to do to make your pages accessible.
To find these templates:
- Select "Content".
- Select "Upload/Create", then "Create File".
- Click "Select a Document Template" and then "Browse for a Template" (There may be other areas of Content where you can select Templates).

- Select "Shared Files".
- Select "Accessible_HTML_Templates v2".
- Select "pages".
- From here you can click each link to see a preview of the template, or check the box to the left and add it.
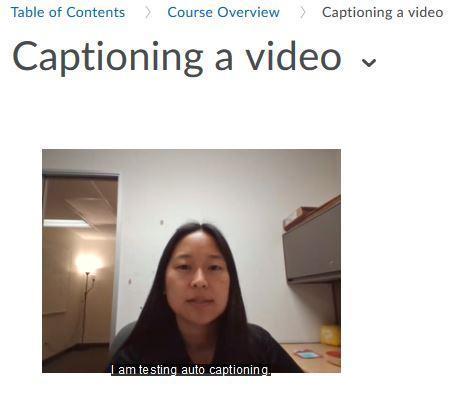
Video Note Automatic Captioning
Video Notes have a 30-minute recording limit, and are great for anyone in the course to record short introductions, updates, feedback, and more. Video Notes can also auto-caption spoken language.
- Select "Content".
- Select "Create File" (there may be other areas of Content where you can select this).
- Give this file a title name, then click on the "Insert Stuff" button.
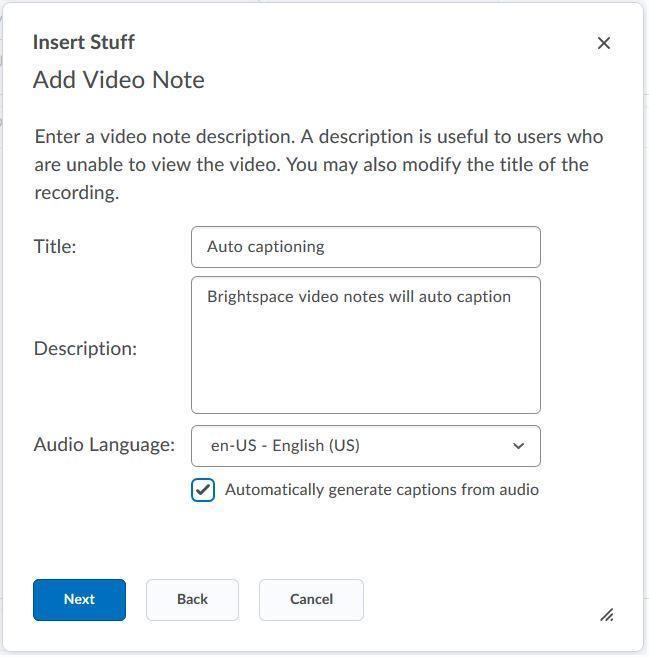
- Select "Add Video Note".
- Click "New Recording".
- Click "Stop Recording" when complete.
- Click "Next".
- Fill out a title, description, audio language, and check the "Automatically generate captions from audio" box.
- Click "Next" then "Insert".
- Click "Save and Close".
*Note - the video will take a few minutes to process, and the auto captions will take an additional minute after the video processing is complete.
Edit Video Note Caption
To edit video captions, click on the Admin Tools cog icon at the top right of your Brightspace screen and choose "Video Note Captions". On this screen you can:
- Edit for corrections.
- Delete your captions.
- Download this information. The download option is Captions in VTT format, or Transcription in JSON format.
- If you need to caption after the fact, you can do so.
Building Accessible Documents
Building accessible documents is easiest when you use a template with accessibility built in, or design on the web. If you would like to create a more traditional downloadable text document from scratch, the following section provides resources to do so. The most common traditional text document formats are Microsoft Word's .docx, and Adobe Acrobat's .pdf.
General Tips
- Digitally scanning a handwritten document does not make it accessible. A screen reader needs typed text.
- Any scans should be done vertically, right side up.
- Each heading needs to be tagged as such, and in descending order/size. For example, the :Using Brightspace to Create an Accessible Course" headline at the top of this page is an H3 headline (headline size 3), while the "Build Accessible Documents" headline is H4. Any smaller headline within the "Building Accessible Documents" section would be H5.
- Lists, columns, tables, also need to be tagged.
- Links and images should have alternative text "alt text" added.
- Colors should be web safe, and have the correct contrast ratio.
Using Microsoft Word for Accessibility
- Government resource on accessible Word documents.
- Microsoft resource on creating accessible Word documents.
Using Adobe Acrobat for Accessibility
Panorama Pilot
Interested in improving how students experience your course? Help ITS evaluate an upcoming Brightspace integration that shows you ways to correct the accessibility aspects of your PowerPoints, PDFs, and other uploaded files. Learn more.